
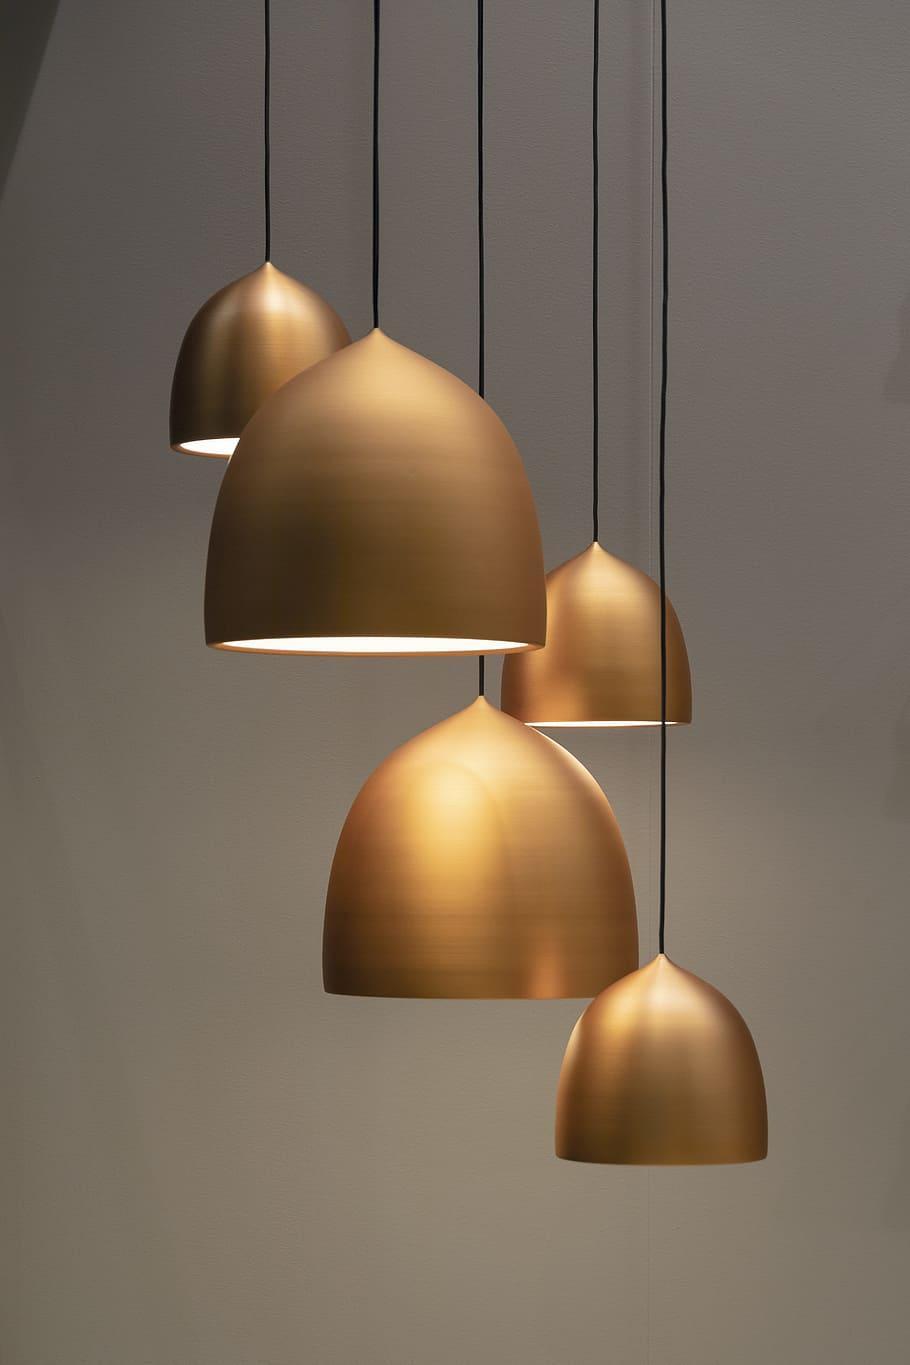
Hampton Bay offers various lighting products, among which the Hampton Bay pendant lights are currently the most popular. Every year a new decor trend comes if we look a few years back, there were tube lights, then came single light bulbs, then chandeliers were in fashion for quite a long time, and after that, a huge time period of LED lights and now a trend of pendant lights.
Most people mix pendant lights with chandeliers or ceiling lights; however, they are pretty different. A pendant light has a light fixture suspended from the ceiling with only a single light bulb incorporated in its fixture, while a chandelier is suspended to the ceiling with a chain with multiple light bulbs surrounding a middle sphere.
A chandelier is used in a big room where too much lightning is needed; it was also used in historical times in big hallways, whereas pendant lights look good but don’t give enough light in the room; it is mostly incorporated in small rooms.
Pendant lights need maintenance. Certain parts need to be replaced or fixed with new parts. Without maintenance, there is nothing that can last long. There is sometimes replacement of bulb, fixture replacement, socket, and shade replacement for a fine color that matches your taste. Sometimes, if you don’t maintain it, it can lead to short circuits, untidy fixtures, and dusty chains/rods or shades.
Common Hampton Bay Pendant Light Issues:
Many issues can occur with pendant lights, some of them are listed below:
- Light bulb
- Socket
- Fixture
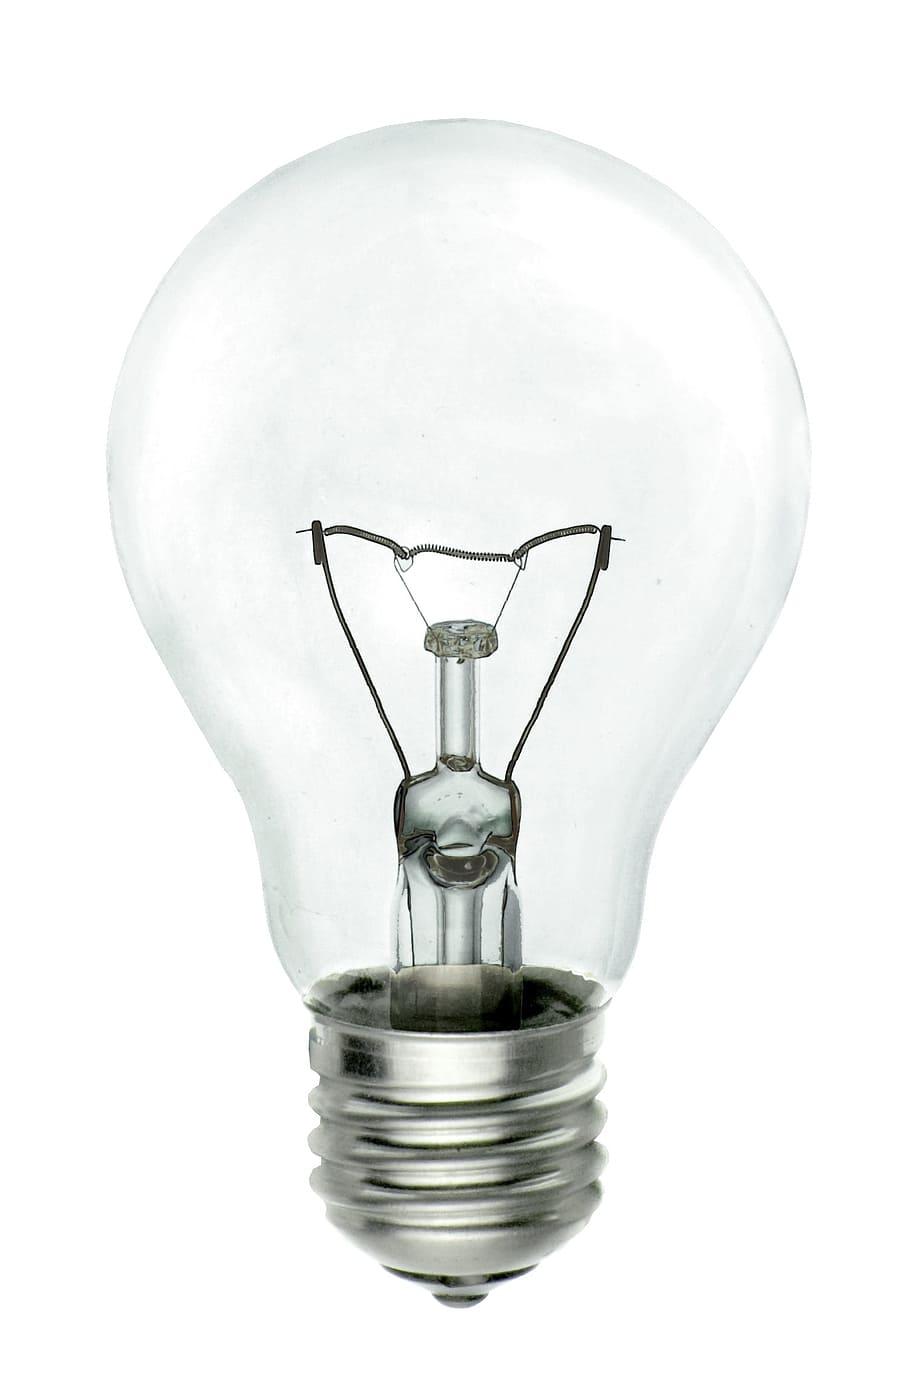
Light bulb:
A fused light bulb can also be a problem because the bulb inside the shade is fused, so it might be time to replace it with a new one. It might have sparked or fused due to some electrical short circuit.
Socket Tab:
The socket tab is located inside the pendant shade. It might be so pressed back that the electricity cannot reach the bulb and doesn’t turn on. You should turn off the light switch and stick your hand in to see if they are pushed beyond the border of the electric supply; remember to turn off the switch before sticking your hand in.
Fixture Replacement:
A fixture replacement can give your house a new look; you just have to change the fixture of any chandelier pendant lights and give it a fresh look.
How to replace them with new ones?
Bulb Replacement:
The type of bulb mainly used in pendants varies. Here are some different types of bulbs used in pendant lights with how to determine which type of bulb suits best and how to replace a bulb step-by-step guide.
- G9 halogen bulb 120V 25W T4 type 2 pin base.
- Bellevue GP9144 wide plugin exposed black indoor lightning.
- Phillips LED 544932
- Edison light bulbs vintage 60-watt E26 base
- 15W A15 bulb medium base 130V
- Yansun 60 watt ST64 dimmable E26 base
- Lamsky E14 European base LED filament
- The best way to determine which type of bulb will fit best is; first, you need to measure which fitting or cap type you need. Knowing the proper cap size is essential, or your bulb won’t fit.
- Choose whether you want a CFL, LED, or halogen-type bulb.
- Now, determine how much lightning area you would like it to cover, and according to that, choose the watts of the bulb.
- You should choose the watts according to your expenses because the electricity bill will increase if you use a high-watt bulb.
- Now choose the color of your bulb.
- Lastly, buy the best one which fulfills all your requirements.
Step-by-step guide on how to replace a light bulb:
- Turn off the bulb’s switch; always turn off the switch before replacing the bulb.
- Next, let the bulb cool down because if you take out a hot bulb, you will not only burn yourself but there is a high risk that it might explode.
- Now, a light bulb is on the ceiling, so use a ladder to climb and reach the bulb.
- It depends on which type of bulb you have; if it is a bayonet mount, slowly and firmly push the bulb upward and pull out; if it is a screw-type bulb, then firmly twist it and pull out.
- Now, take the new bulb and fit in it the same way as you have taken them out.
Socket Replacement:
Many lights have different types of socket, but pendant lights socket is different, as you have read earlier, so if the socket base gets either gets faulty.
- Fluctuated,
- Burned
- Water damaged.
- The wire isn’t reaching the bulb.
If there is a problem like anyone of this, your light will spark or if there is too much electric supply it will burst. Or sometimes doesn’t even turn on. These are the signs that might be a problem with the socket of the light.
These are the tools that you need to replace a socket:
- Ladder
- Non-contact voltage tester
- Voltage tester
- 4 in 1 Screwdriver
- Pliers
- Wire cutter
- Needle nose pliers
- Electrical tape
- New socket base/ light fixture
Step by Step guide on how to replace the socket of a pendant light:
- Turn off the switch, unravel the canopy and fixture, cut the wires with a cutter, and separate it from the ceiling.
- To check if the power is off, take the noncontact tester and get it close to each wire. If it lights up, a power supply still waits for the tester’s light to go off.
- Now unscrew the fixture and leave the rest of the wire in the electrical box.
- Now turn the light on to the switch to test if it is hot with a noncontact tester. Make sure the colored wire has power.
- Now with a voltage tester, connect one end to the color wire and the other to the ground or bare copper wire. If the light turns on, the ground wire has a current supply. Call an electrician to fix the ground wire if it doesn’t light.
- If there is a current in the ground wire, if it lights up now, you can proceed further by turning off the light switch.
- Now, attach the ground copper wire, if not present, around a screw with three turns and put the screw into the threaded hole.
- Now, assemble the mounting strap by adjusting the canopy from the ceiling part, lighting it inside the canopy by ⅜ inches of the thread of the screw collar, now lock it by a canopy nut.
- Now add the crossbar and put all the wires to one side, screw it into the ceiling, and don’t cut wires if you have a hanging light to adjust the length.
- Add the fixture in the middle and get someone to hold it while you attach the crossbar.
- Now connect the neutral fixture wire with the white wires if you have a lamp-style wire, then the silver/white wires are neutral, and black is the hot wire.
- The unmarked wire is hot. Connect it to the hot wire in an electric box that is either red or black; now, complete it by loping the ground wire against the screw and connecting the end from the fixture to the electric ground wire.
- Lastly, close the canopy back with the ceiling at the screw and canopy screw, add the end onto the mounting strap so it looks stylish and is fixed, and turn the light on to see if it works.
Caution:
If there are aluminum wires used in your home, don’t mess with them and call an electrician to work with them.
3. Light Fixture:
Here is how you can replace your light fixture with a new one:
The tools you need are:
- Wire cutter
- Screwdriver
- Circuit tester
- Voltage tester
- Light fixture
- Connecting wires
- Ladder.
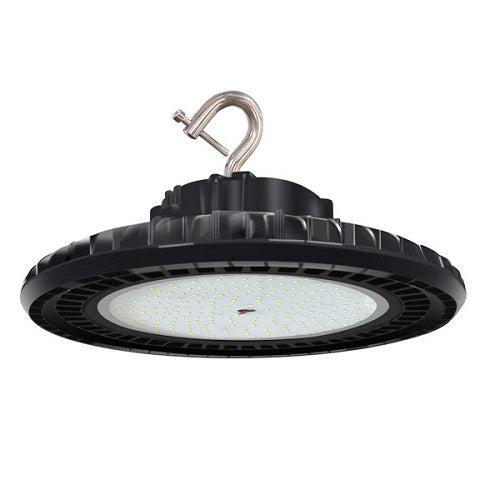
- First, turn off the light’s power supply to replace the fixture.
- Now take the fixture off the ceiling and cut all the electric connections.
- Now attach the new fixture and tighten all the screws if loose, don’t tighten too much because it needs to manage the weight of the pendant.
- Now connect all the wires and fix our fixture. Now add the shade and insert the bulb.
- You have a brand new fixture, upgraded pendant light.
Identifying, Ordering, and installing Replacement parts:
- Firstly, precisely identify the problem of your object so that you can tell the service efficiently and exactly which part of your object needs to be replaced.
- Secondly, you need to know your item’s exact model and model number if you have thrown its box, then see if you can find the UPC and tell your service provider. If you cannot find any of them, show them the picture of your broken item; that would be enough for them to figure out the exact item.
- Now contact the Hampton service providers for the item that needs to be replaced, given all the collected information they ask for.
- Now select the equipment you need to order and order them.
- Now if they say you have to send the product to us then.
- Wrap your damaged product inside bubble wrap, put a sticker on it, and send it.
- After 5 to 7 days, your order or your repaired object will be sent to you.
- Now that you have your replacement, it is time to install them; read the manual to learn how to install them perfectly.
- Take precautions like wearing gloves and turning off the switch if installing any electrical appliance.
Online Website For Replacement Parts:
There are several online websites where you can find the replacement parts for Hampton bays, such as Home Depot, Amazon, and eBay (only if you know the exact information),
Step by Step guide on how to install a pendant light:
Now if you have a brand new product or a new pendant light, here is a step-by-step guide on how to install it:
- Firstly, close the switch or power supply where it needs to be installed.
- Then take off if anything was previously attached.
- If not, take a crossbar and get all the wiring on one side; now, attach the rod to the middle of the crossbar.
- After that, attach the canopy and all wires attach to the one in the electric box.
- Now the wires that are under the canopy insert them in the rod.
- Next, attach the rod to the canopy.
- Hang the bulb in the socket, and now hang the shade of your pendant light.
- Now turn on the switch and have a fashionable hanging pendant light.
Maintenance and Care tips:
- Electrical appliances like fans and lights need cleaning, so be sure you don’t get too dusty and clean them quite often, thrice a month. If you live in an area with too much dust, clean them every week.
- They mustn’t get water inside them. They must be away from water and look out if your roofs leak. They are the main reason for water damage.
- Sometimes an electrician leaves connections between electrical objects open, so be careful and tighten all your open connections and call a pro electrician to do your work occasionally. Check your electrical connection for any misconceptions, which may lead to fire, short circuit fluctuation, and many more problems.
Conclusion:
When their lights or fans get damaged or malfunction, many people give out the old ones and buy new ones. Still, it is sometimes best to repair it because only a few tweaks or little parts will be replaced, and it will work like brand new it not only saves you a lot of money and gives your objects a long life to live. So, rather than spending much money, spend less and repair your product.
I hope this blog will help you repair and care for your pendant lights.